:grayscale(false):blur(0):quality(80) "ION Journal")
:blur(0):quality(80) "ION Water Find your local shop")
:blur(0):quality(80) "ION Journal")
:grayscale(false):blur(0):quality(80) "ION Shop finder youth")
:grayscale(false):quality(10):blur(20) "ION spreader bar for harnesses")
INSTALLING THE MINIROPE - SPECTRE BAR 2

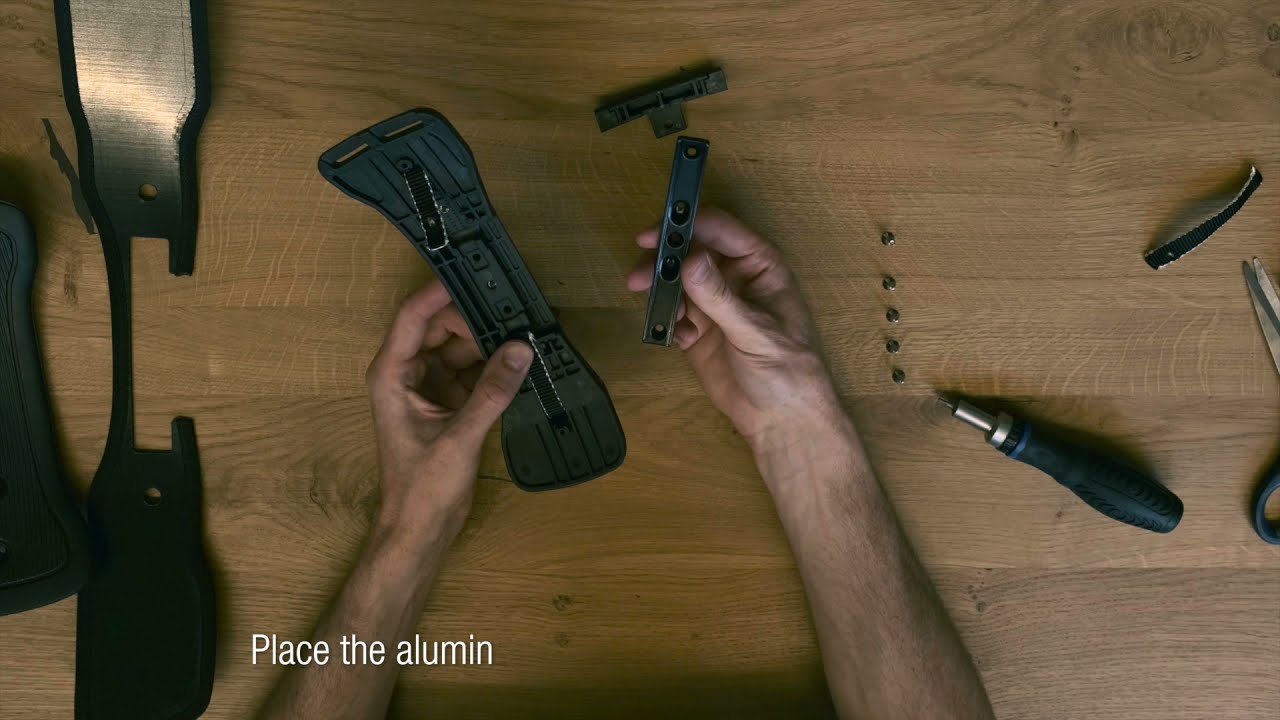
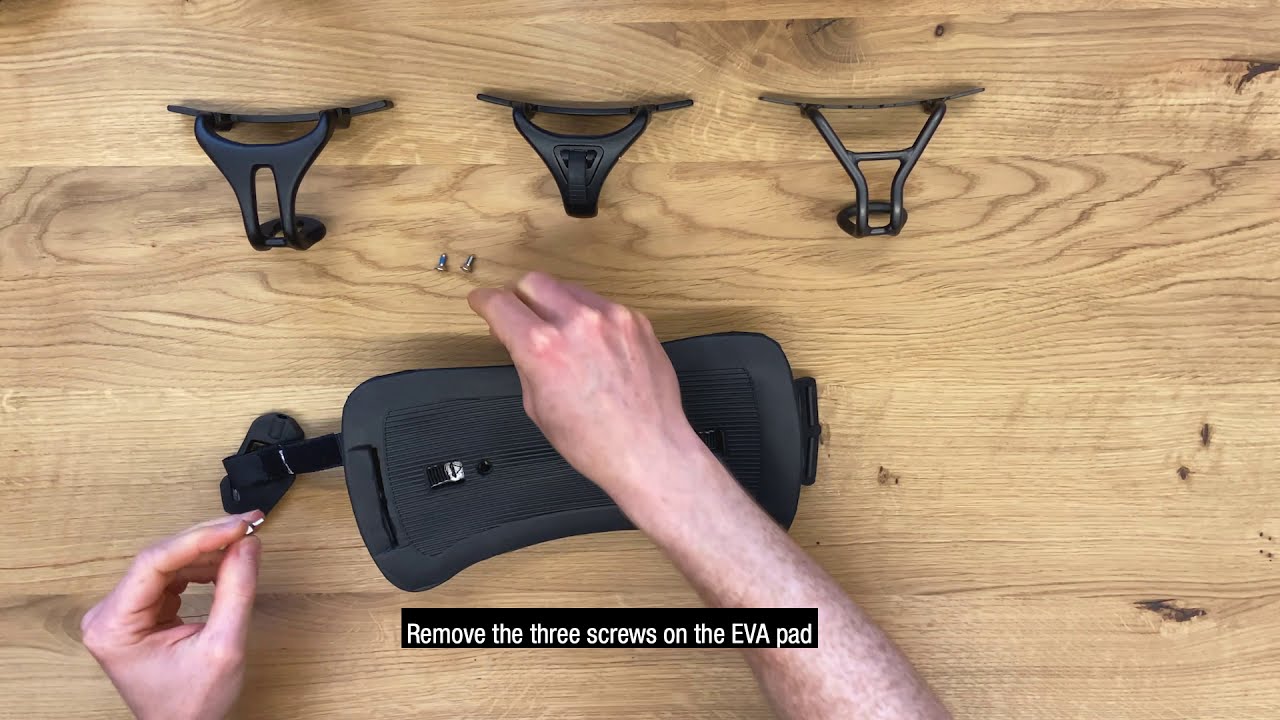
Remove all five screws from the inside of your Spectre Bar 2 using a TX20 Torx driver.
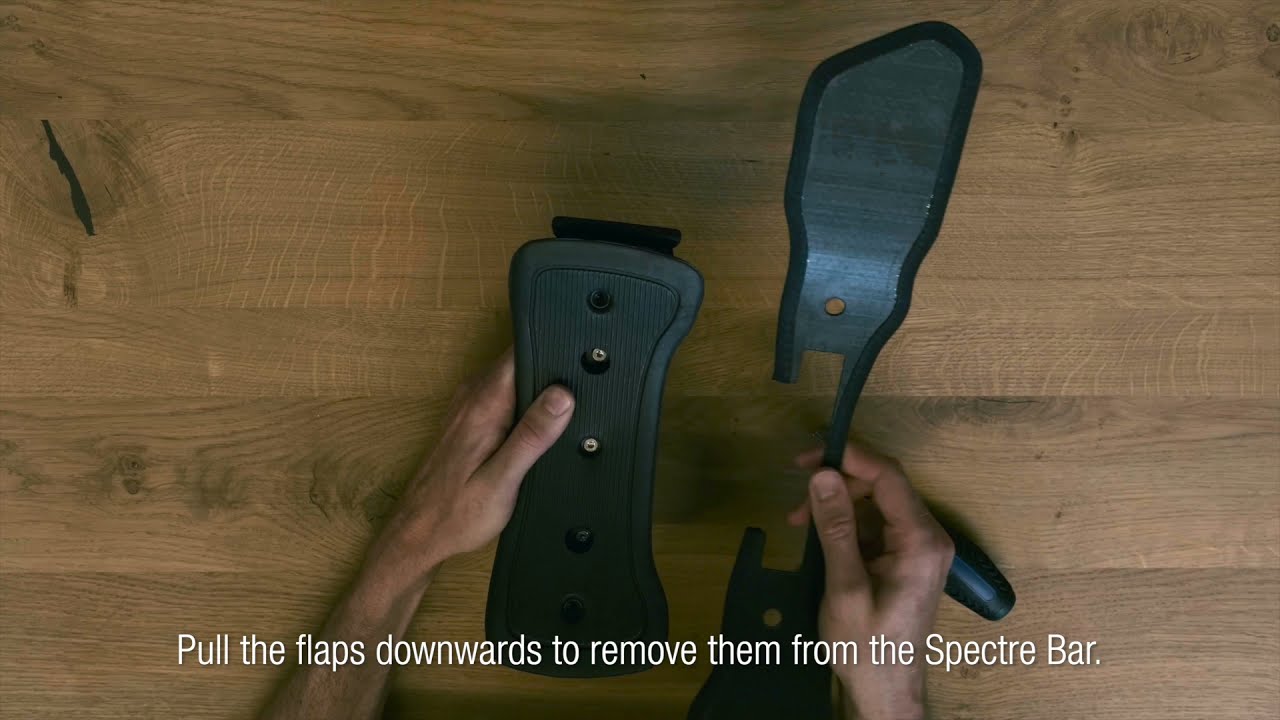
Carefully remove the pad, flaps, and hook.
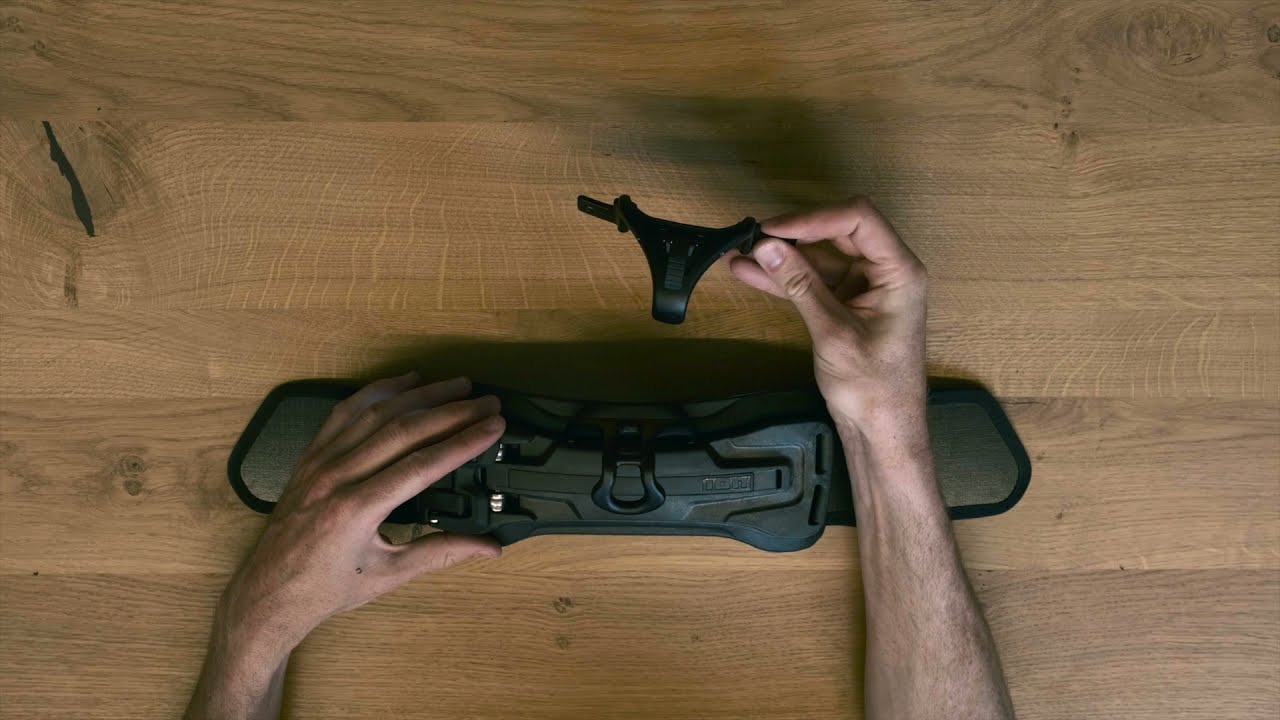
Remove the front cover by pushing the two small plastic tabs on each side of the bar.
Replace the original cover with the enclosed replacement part.
Make a figure-eight knot on one side oft he mini rope.
Run the mini rope through one of the holes on the Spectre Bar 2.
Run the mini rope back through the other hole.
Secure it with another figure-eight knot on the inside.
Thread the webbing slider through the Spectre Bar 2.
If using a stanndard chicken loop, add the stainless steel ring. If using the Duotone Rope Kit, the ring is not needed.
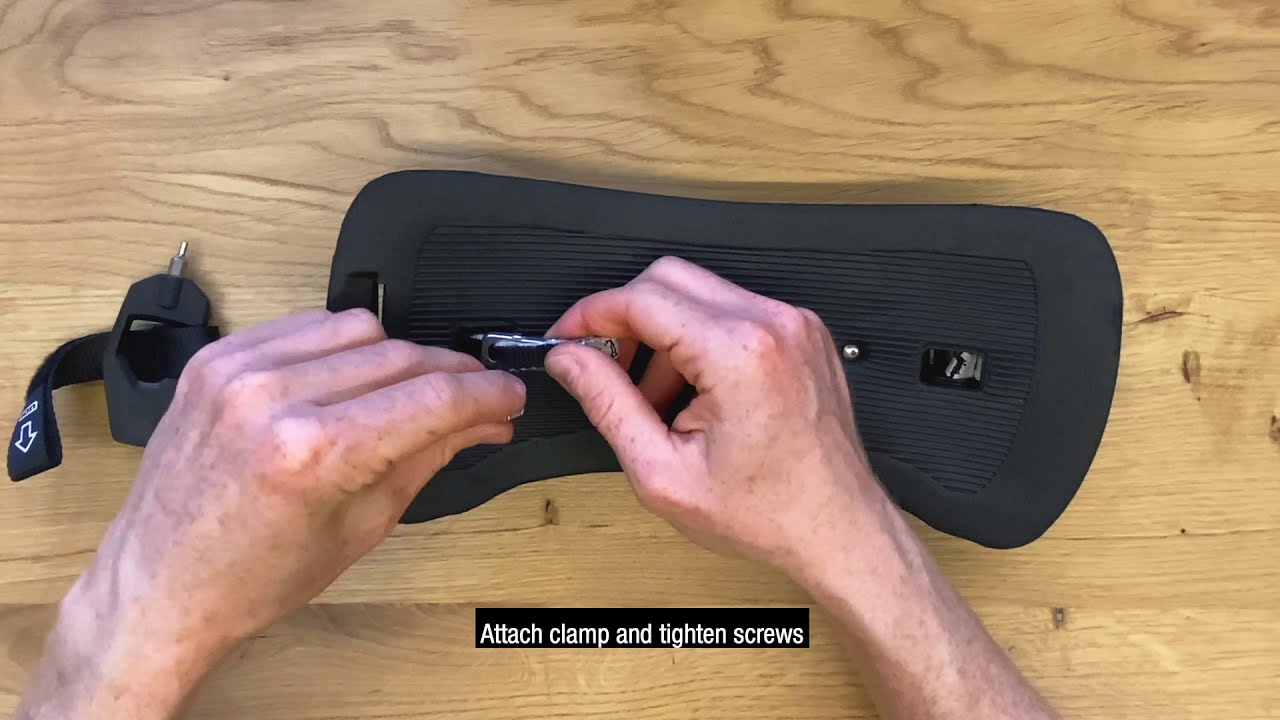
Place the rope cover over the webbing slider.
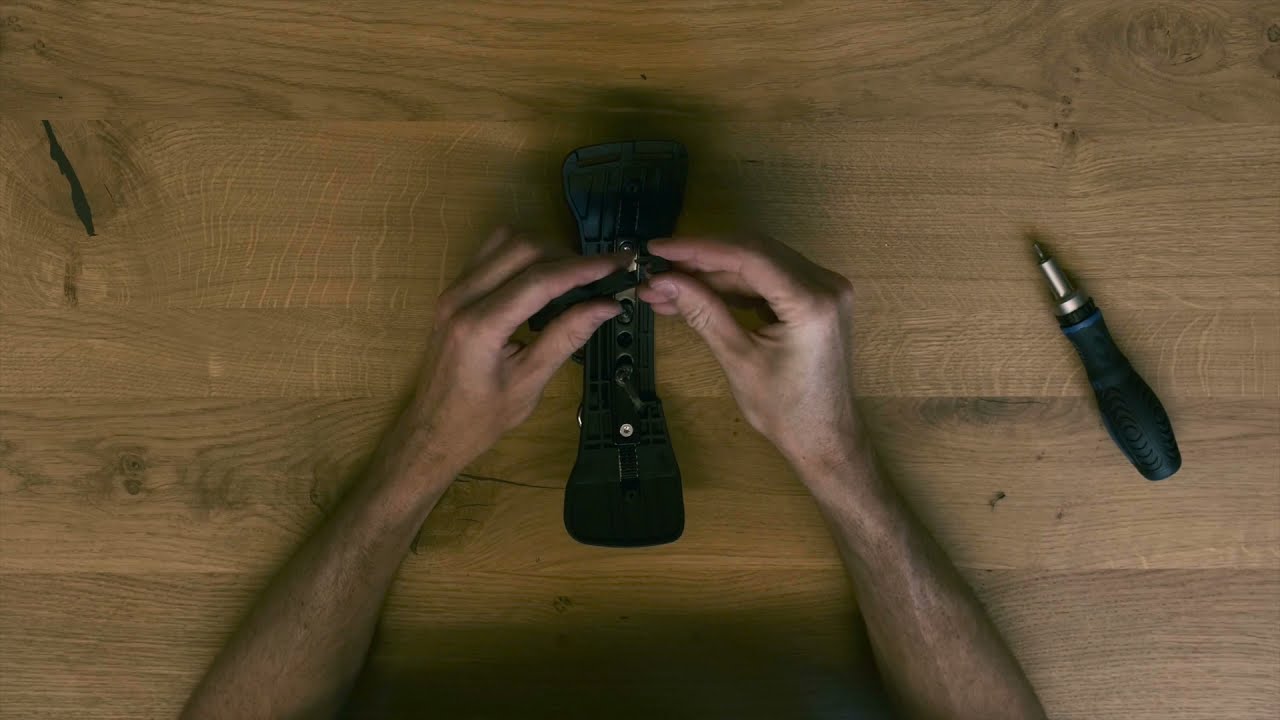
Insert the two screws next to the center through the rope cover and rope.
Tighten the screws holding the hook to 2.5Nm. Tip: you can adjust the rope length.
Long rope: Use both inner holes. Medium rope: Use one inner and one outer hole. Short rope: Use both outer holes.
Secure everything tightly.
Reassemble the flaps and pad, including the washers. Fasten with the remaining three screws.
Installing the Slider - Spectre Bar 2
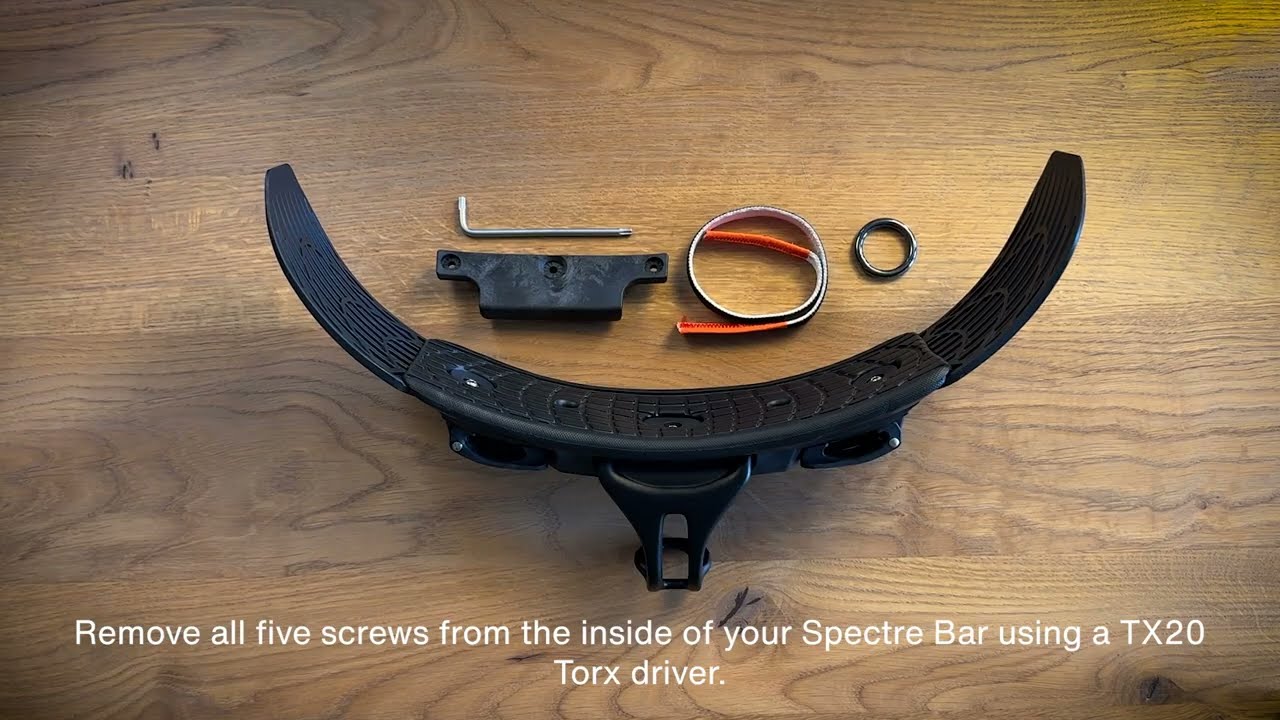
Remove all five screws from the inside of your Spectre Bar 2 using a TX20 Torx driver.
Carefully remove the pad, flaps, and hook.
Thread the webbing slider through the Spectre Bar 2.
If using a standard chicken loop, add the stainless steel ring. If using the Duotone Rope Kit, the ring is not needed.
Place the rope cover over the webbing slider.
Insert the two screws next to the center through the rope cover and rope.
Tighten the screws holding the hook to 2.5Nm.
Tip: You can adjust the rope length. Long rope: Use both inner holes. Medium rope: Use one inner and one outer hole. Short rope: Use both outer holes.
Secure everything tightly.
Reassemble the flaps and pad, including the washers. Fasten with the remaining three screws.